

How to Detect and Prevent Roof Leaks This Winter
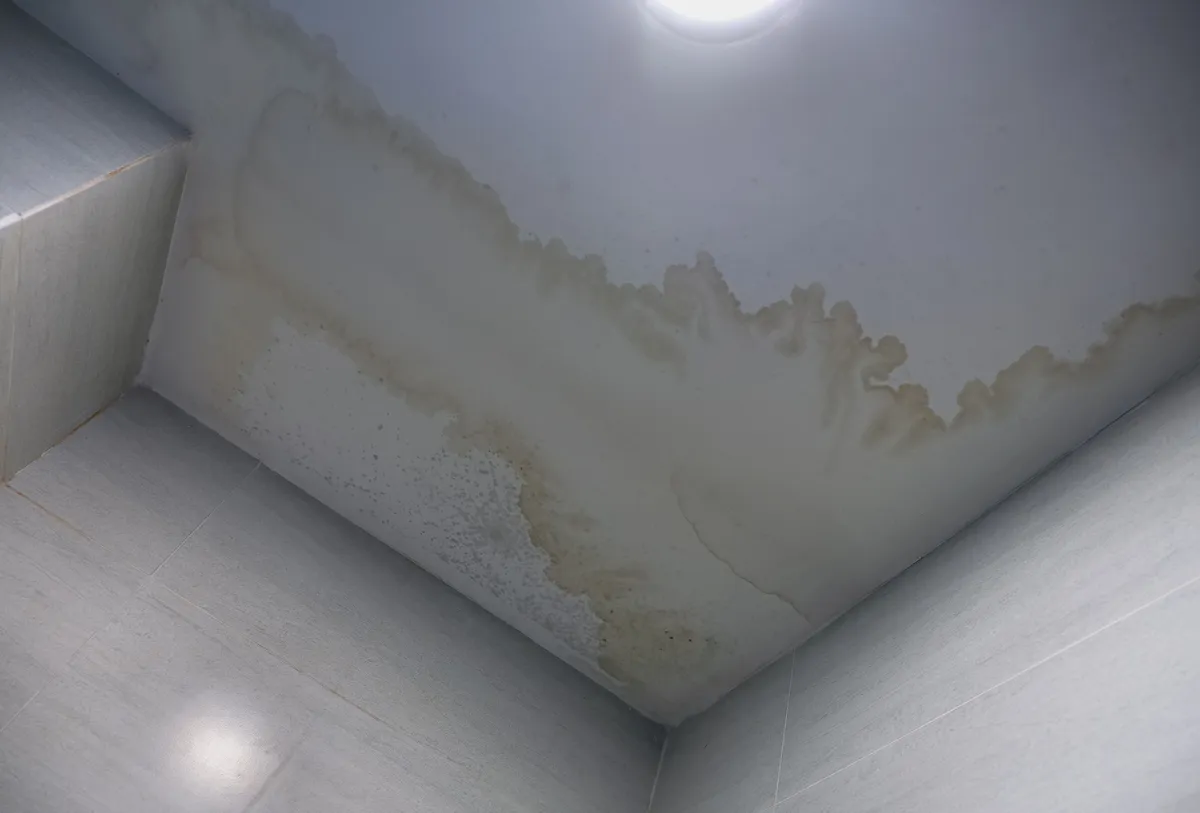
A faint ceiling ring that appears after a midday thaw can raise more questions than answers. Roof leak detection improves when you connect that indoor clue with recent weather and the path moisture may have followed. The stain may sit several feet from the actual opening because water follows decking, rafters, or insulation.
Winter moisture does not always come through damaged shingles, since attic condensation can create similar marks. Timing, location, and moisture patterns help separate a roof opening from humidity, ice buildup, or drainage trouble. Once you identify the likely source, prevention can target the cause instead of masking the visible symptom.
Winter Leak Clues Do Not Require a Rooftop Search
Homeowners can gather valuable evidence from living areas and safe attic access without walking across a winter roof. Snow, ice, wet shingles, and hidden weak spots make exterior roof access especially hazardous during cold weather. Leave rooftop investigation to trained professionals, and document the interior conditions that change.
The First Drip May Be Far From the Roof Opening
When a fresh drip appears, record the visible mark and the highest damp area nearby. Water may travel along roof decking, rafters, pipes, or insulation before dropping onto the ceiling below. Record the stain’s outer edge and photograph changes after each weather event for more accurate roof leak detection.
Move nearby belongings, place a container beneath active dripping, and keep clear of wet lights or wiring. Seek immediate professional help when stains spread, drywall sags, or water reaches electrical fixtures. Your notes help a roofer follow the moisture path beyond one visible spot.
Weather Timing Sharpens Roof Leak Detection
Write down whether moisture appears during heavy rain, strong wind, active snowfall, or temperatures rising above freezing. Leaks limited to wind-driven rain may point toward flashing, lifted shingles, or an exposed roof transition. Water appearing as snow melts may indicate an ice dam that traps runoff near a cold roof edge.
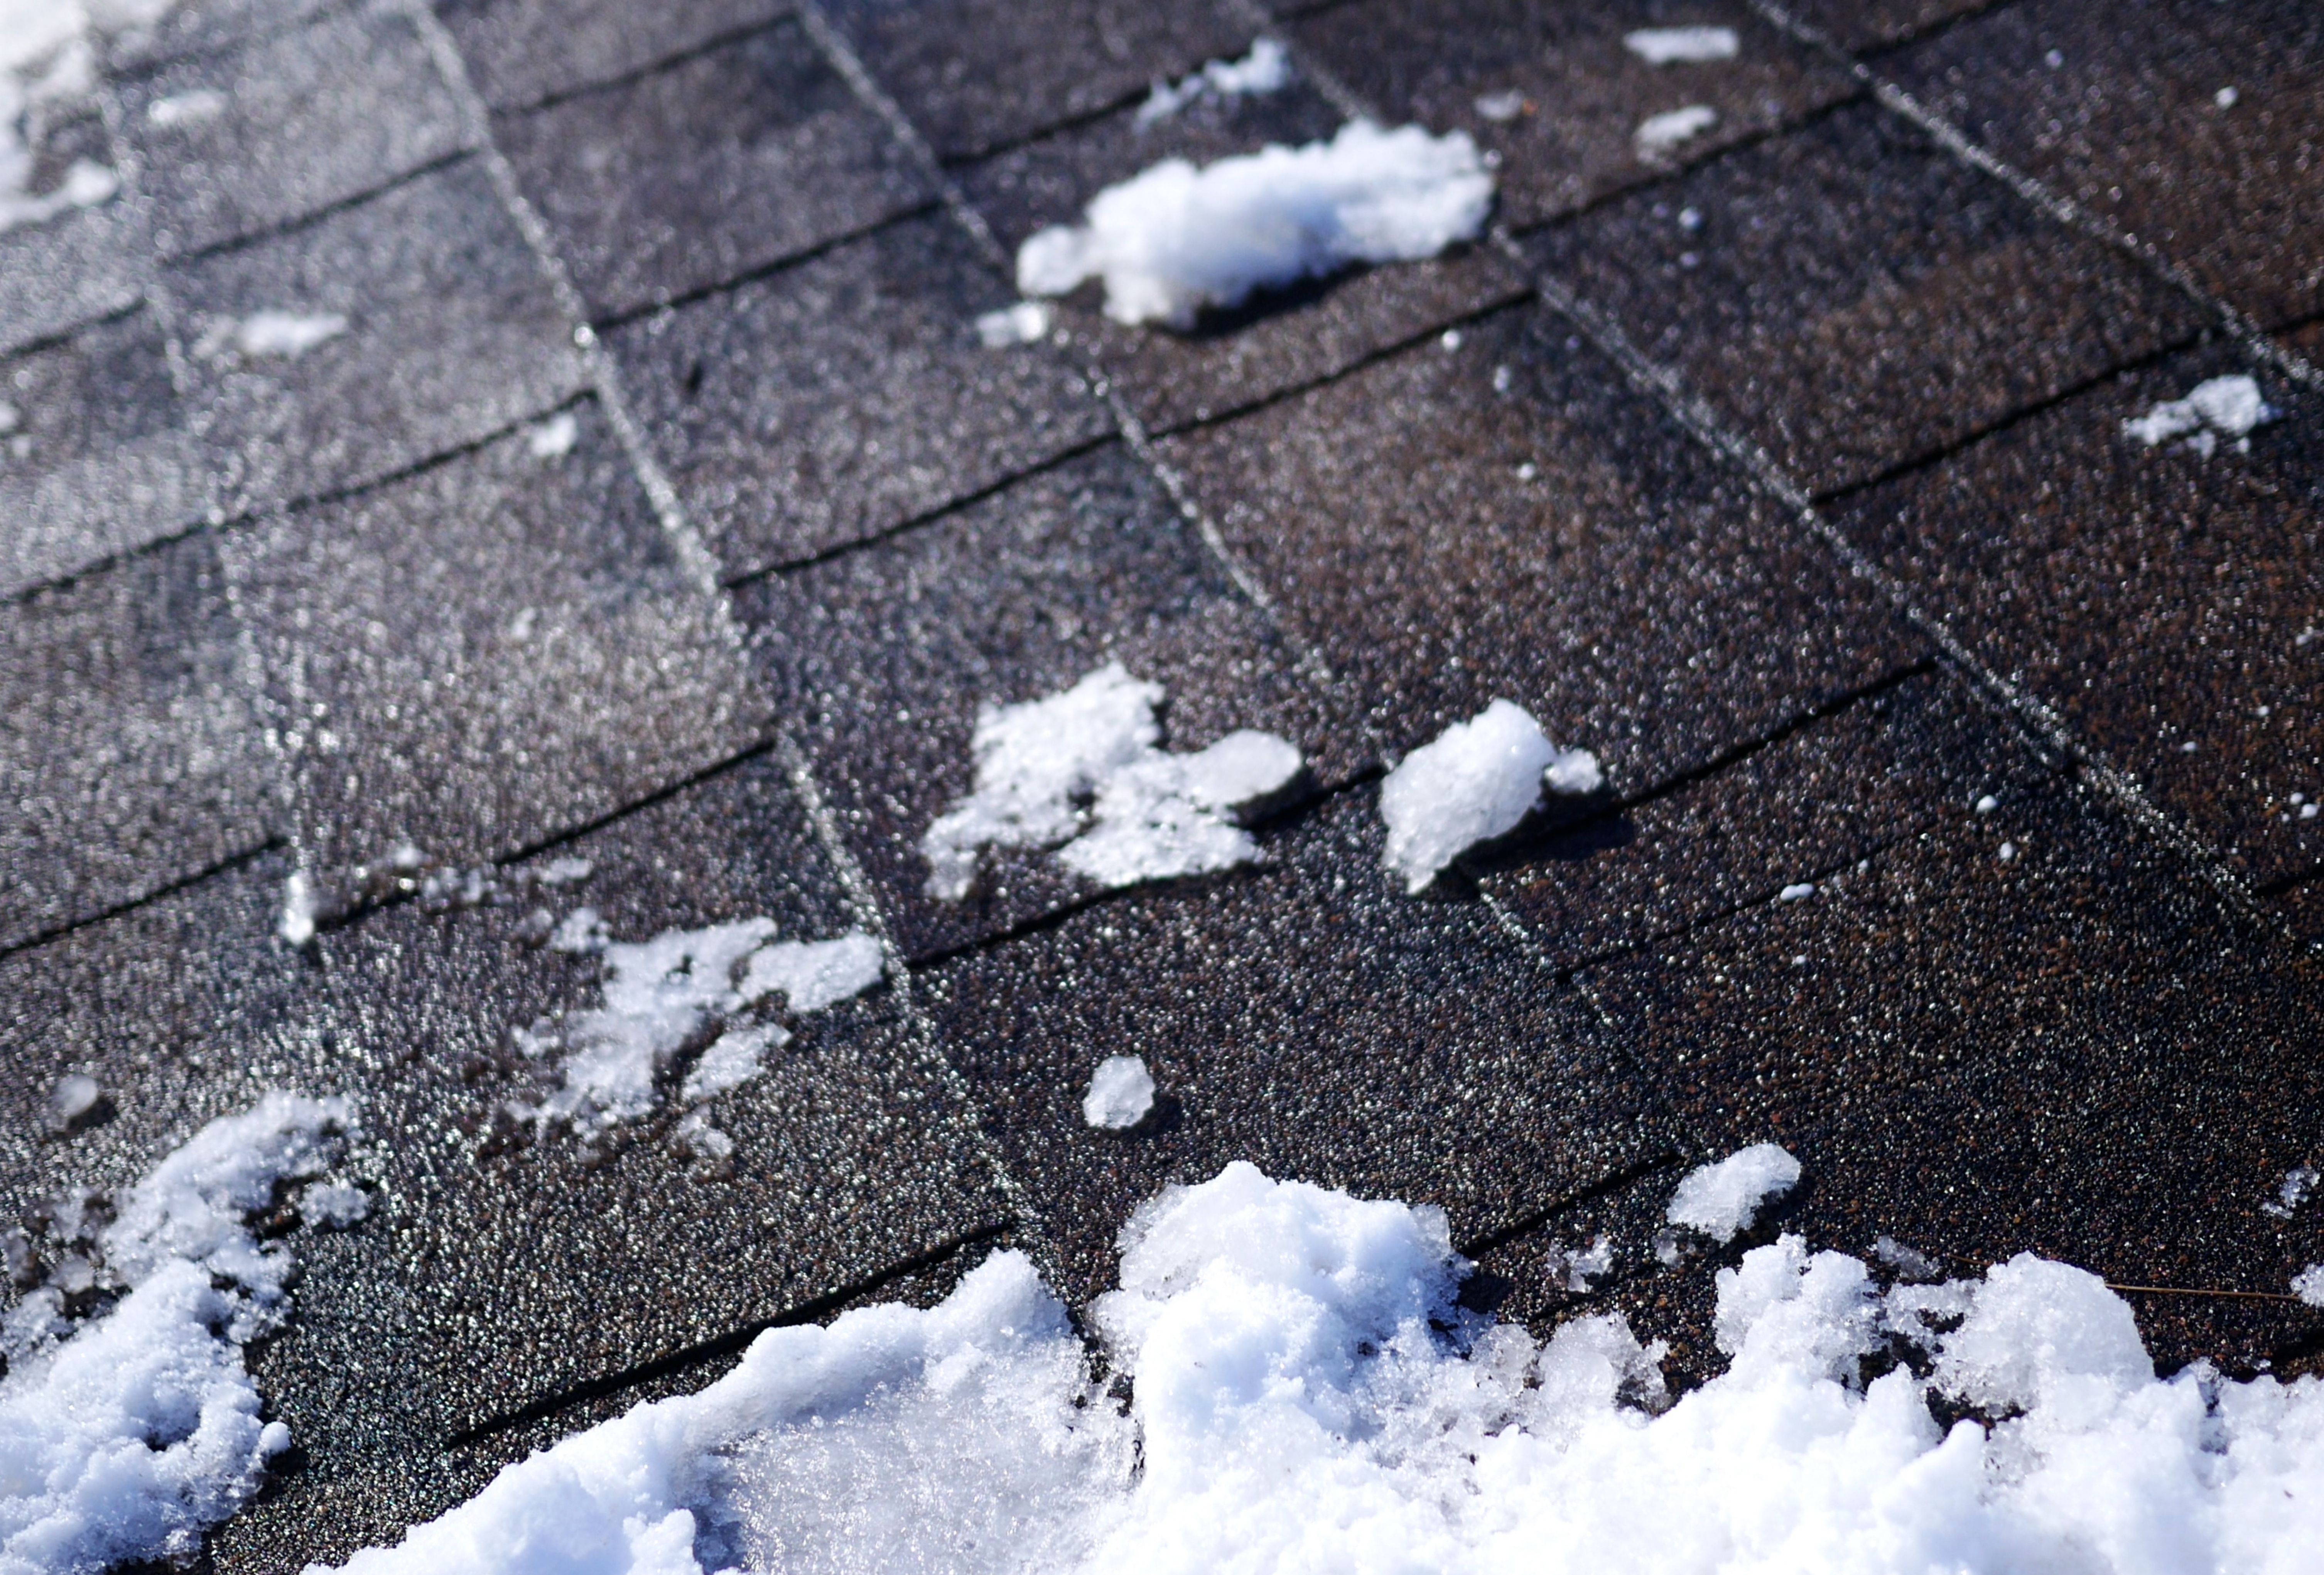
Dry, frigid days create another possibility because warm indoor air can condense against cold attic surfaces. Your weather notes give roof leak detection a timeline that narrows the likely causes. Timing alone cannot confirm the source, but it can direct a closer look toward the most likely area.
Condensation and Roof Leaks Leave Different Moisture Patterns
Condensation usually spreads across cold attic surfaces, especially when warm indoor air carries moisture upward. Exterior leakage more often leaves a defined trail beneath one seam, penetration, or damaged area.
Frost on many nail tips or widespread damp sheathing may signal trapped attic moisture rather than exterior water intrusion. Localized staining, matted insulation, or darkened wood below a roof transition points more strongly toward a roof opening. Careful roof leak detection compares the distribution of moisture instead of relying on one isolated mark.
Repeated condensation deserves attention because moisture can wet insulation and promote deterioration around wooden components. When the pattern remains unclear, avoid painting over stains until a professional identifies where the moisture originates.
Use Roof Leak Detection Clues From a Safe Attic Position
Treat safe access as part of roof leak detection, and enter only when the walkway appears dry and stable. Stay on a secured walkway, use a flashlight, and never step between joists hidden beneath insulation.
Water trails across the underside of roof decking
Wet or compressed insulation beneath one section of decking
Darkened rafters or sheathing along a moisture path
Dark marks around chimneys, vents, or pipe penetrations
Do not touch wet wiring, disturbed insulation, or questionable framing as you follow the visible trail. Photograph attic conditions from a safe position and leave materials undisturbed to prevent additional damage.
Roof Leak Detection Connects Each Moisture Pattern to a Specific Fix
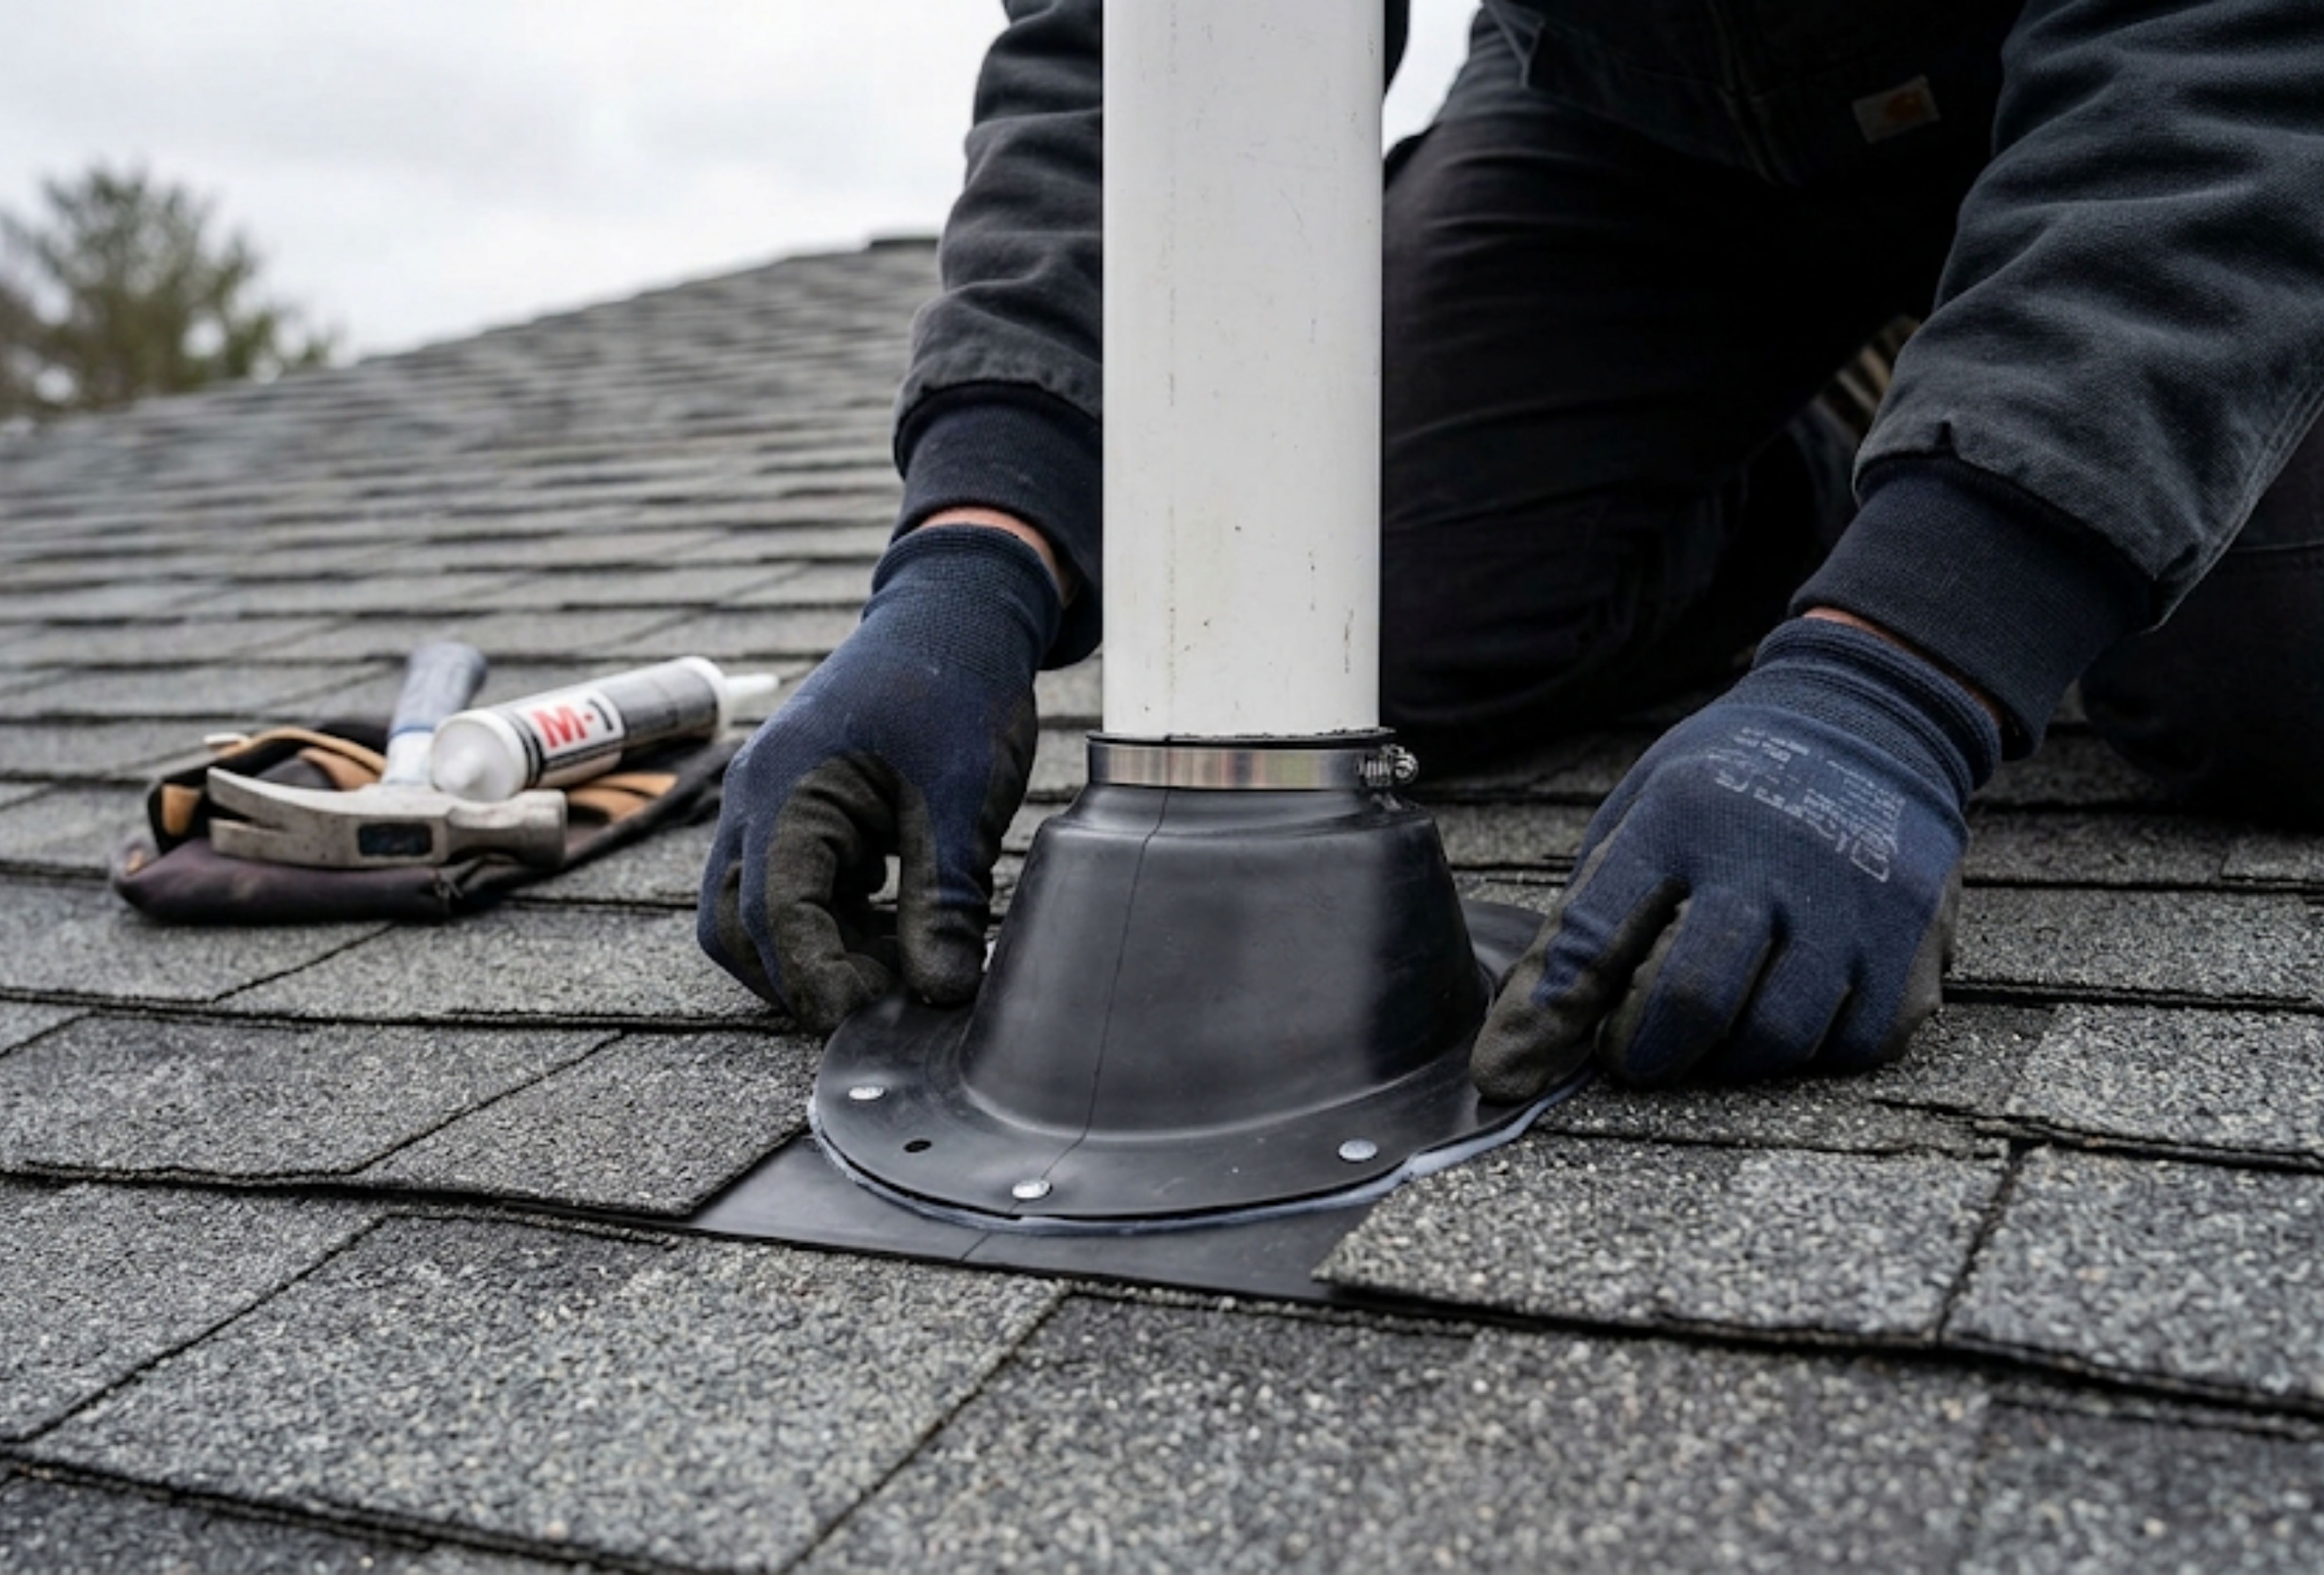
When the evidence confirms exterior leakage, repairs should restore the failed roofing component responsible for the moisture path. A targeted roof repair may include new shingles, rebuilt flashing details, or a replacement boot around a pipe penetration. Contractors can match the repair scope to the failed component when roof leak detection identifies the moisture path.
If the evidence points away from exterior leakage, shingle repairs alone will not prevent another winter moisture cycle. Insulation, air sealing, attic airflow, indoor humidity control, or drainage corrections may address the actual cause. Source-specific work reduces repeat staining and avoids unnecessary roof repairs when condensation or ice buildup caused the dampness.
Keep the Same Winter Leak From Returning
One dry day does not prove that the winter moisture source has disappeared. Recheck the repaired area during similar weather and confirm no moisture, spreading stains, or odors return. After repairs, roof leak detection can confirm whether the original entry point remains sealed as temperatures and precipitation change.
When evidence remains mixed, a professional can examine roofing surfaces, flashing, drainage areas, and accessible attic spaces for clues. An evaluation from Moss Home Improvement can distinguish exterior leakage from condensation or ice-related moisture before repair work begins. Let the team trace the moisture before another winter weather shift changes the evidence.